Windows 11
- Open the Snipping Tool by typing "Snipping" in the Start menu search bar or pressing Windows + Shift + S to capture directly.

- For a full-screen capture, select "Full-screen Snip" from the Snipping Tool menu or use Windows + PrtScn to save automatically.

- Click the Save button (or File -> Save As), choose a format (PNG or JPG) and a location, e.g., Desktop. Automatic captures (Windows + PrtScn) are saved in Pictures -> Screenshots.

Windows 8, Windows 10
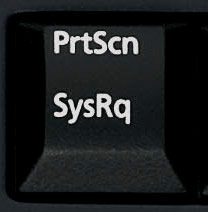
Use the Keyboard Shortcut - Windows + PrtScn
- If you want to take a screenshot of the whole screen and save it as a file on the hard drive, without using any other tools, then press Windows + PrtScn on your keyboard. Windows 8.1 and Windows 10 will store the screenshot in the Pictures library, under Screenshots.
Windows Vista / Windows 7
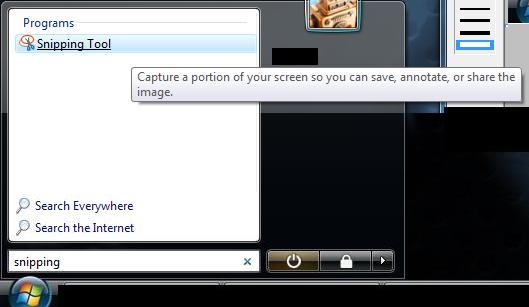
- Open a program called Snipping Tool (type Snipping in the "Start Search" area of the start menu).
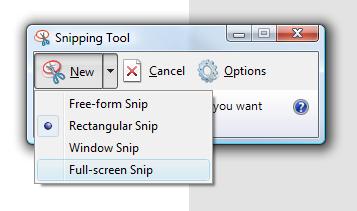
- Click on the arrow next to the "NEW" Button, then click "Full Screen Snip"
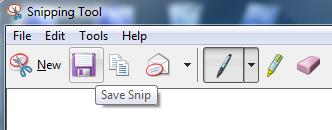
- Click on the Save Button (or File -> Save As), and choose a location to save the file, Example: Desktop
Windows 8, Windows 10
Use The Keyboard Shortcut - Windows + PrtScn
- If you want to take a screenshot of the whole screen and save it as a file on the hard drive, without using any other tools, then press Windows + PrtScn on your keyboard. Windows 8.1 and Windows 10 will store the screenshot in the Pictures library, under Screenshots.
Windows XP
- Ensure the screenshot you wish to take is visible on your screen and press the Print Screen (PrtScrn) button on your keyboard.
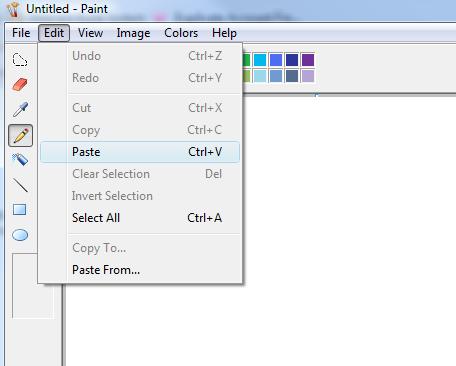
- Open Microsoft Word or Microsoft Paint
- Paste the image into the program by holding Ctrl and pressing V, or on the menu Click Edit -> Paste
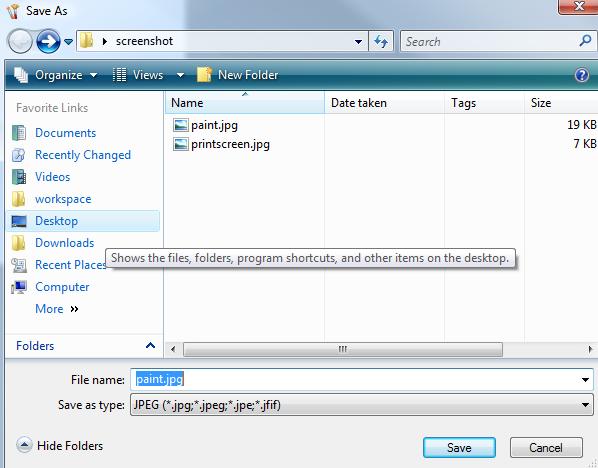
- Click File -> Save As, change the type to PNG or JPG, and choose a location to save the file, Example: Desktop
macOS Ventura, Sonoma, Sequoia
- To capture the entire screen, press Command + Shift + 3. The screenshot is automatically saved to the Desktop or a configured folder (e.g., Documents).

- To capture a specific area, press Command + Shift + 4, then select the area with the cursor. The screenshot is saved to the same location.

- To open the screenshot tool (for advanced options), press Command + Shift + 5, select the capture type (entire screen, window, selection), then click "Capture". Save the screenshot via File -> Save As, choosing PNG or JPG, and a location, e.g., Desktop.
